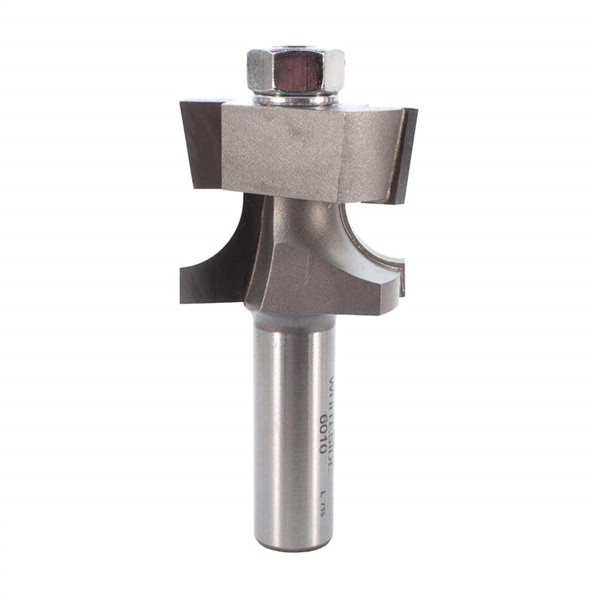
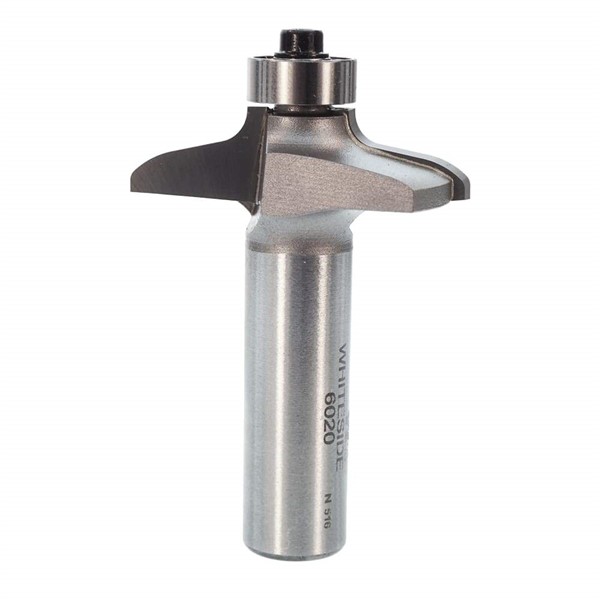
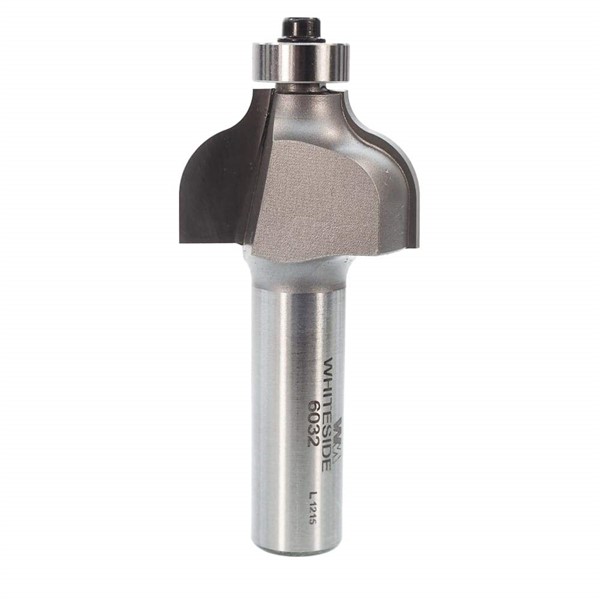
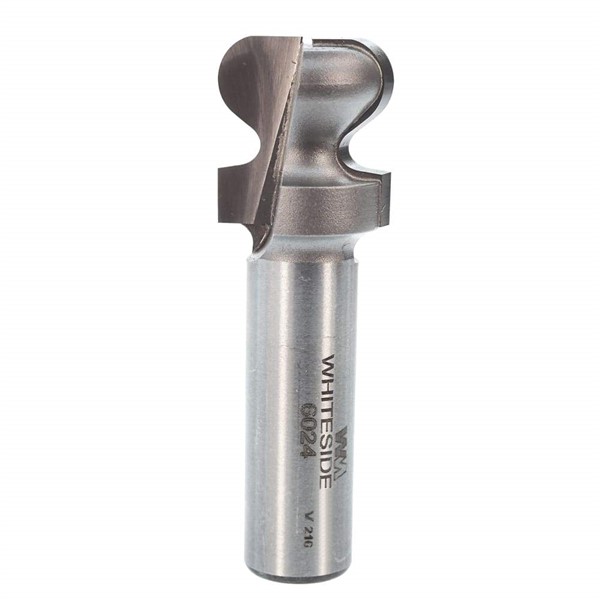
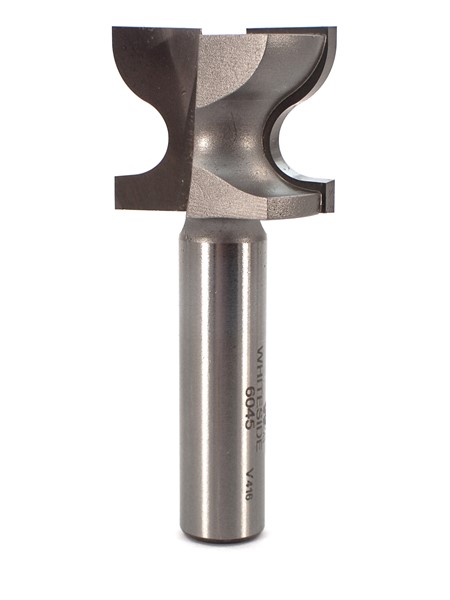
Whiteside Machine Door, Cabinet Door, Drawer Bits
Thank you for shopping with us! Raised Panel Door Construction Application:
Choose stock size as appropriate for your project. For example, 3/4” x 2” stile & rails and 5/8” thick panels (without optional back cut) are common for cabinet doors.
Use your stock size and door size to calculate the following:
Stile length = Door height
Rail length = Door width - width of both stiles + Interlock
Panel height = Door height - width of both rails + Interlock - Expansion
Panel width = Rail length - Expansion Interlock = 3/4” (3/8” per side) on Whiteside full size Stile & Rail bits
Expansion: Generally 1/8” on cabinet doors. Can vary with door size, green condition of wood, anticipated exposure to high humidity, and species of wood. The Stile bit cuts the entire length of the inside edge on both the stiles and the rails. The Rail bit is used to make the matching cross grain end cuts on the rails only. The Raised Panel bit cuts all four sides of each raised panel face down on the router table. Set Raised Panel bit height for proper tongue thickness. Tongue should be 1/4” for the full size Stile & Rail bits. Allow extra stock if you plan to use the optional back cutter. Use the Standard Glue Joint (page 23) or biscuits for added strength when gluing up larger panels. Cut all components and test fit. Then glue up and reassemble. Glue only the stile and rail joints. The panel should be allowed to "float" to allow for expansion and contraction.
You may choose to use anti-rattle snakes to prevent the panel from rattling. Make your own by running a 1/8” bead of 100% silicone caulk on wax paper. Allow to dry. Cut into pieces about 3/4” long. Insert in each groove at every corner while assembling. Check the door for squareness immediately after gluing up. It may also be helpful to pre-stain the raised panel because part of the concealed portion of the tongue may become visible later due to contraction. Complete the door by adding a door edge pattern around the outside edge.

